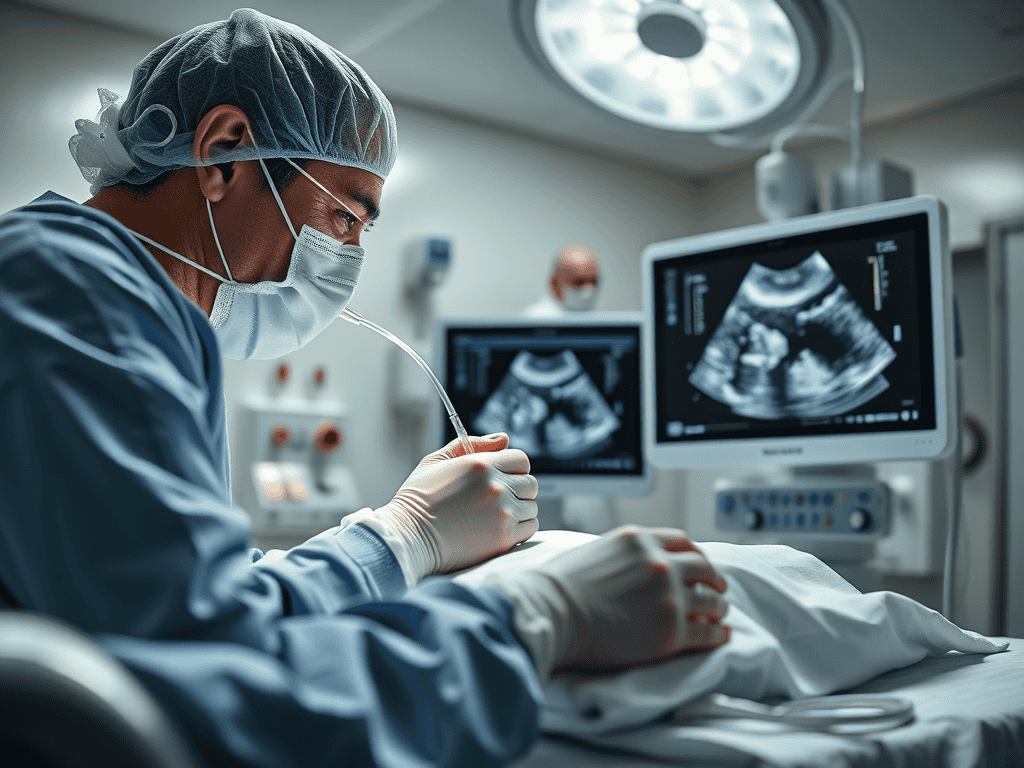
Placing a central line is one of those procedures rookies dream about and fear at the same time. Done right, it saves lives. Done wrong, it can be catastrophic. In the ED, you need to know when a central venous catheter (CVC) is truly necessary — and how to do it safely.
When to Use Central Access in the ED
Central venous access is not routine. Think of it only when peripheral IVs aren’t enough.
Indications
- No peripheral access and urgent resuscitation needed.
- Vasopressors when prolonged infusion expected (though short-term peripherally is safe).
- Rapid infusion of large volumes (trauma, shock).
- Central venous pressure monitoring (rarely used in ED now).
- Renal replacement therapy or plasmapheresis initiation.
- Certain medications: chemo, hyperosmolar solutions.
Rookie pearl: If the patient is crashing, don’t waste time — IO access first, central line after stabilization.
Common Sites & Their Pros/Cons
- Internal Jugular (IJ)
- Straight path to SVC.
- Easy to compress if bleeding.
- Good ultrasound window.
- Con: patient can’t move neck; higher infection risk if left long.
- Subclavian
- Comfortable for patient.
- Lower infection rate.
- Con: higher risk of pneumothorax; not compressible.
- Preferred in trauma (if no chest injury).
- Femoral
- Fast, easiest in emergencies.
- Compressible, good in coagulopathy.
- Con: higher infection and thrombosis risk.
- Useful during codes or when chest/neck off-limits.
Step 1: Preparation
- Explain if awake, consent if possible.
- Gather full sterile setup: gown, mask, gloves, large drape.
- Ultrasound machine (unless true crash).
- Choose site based on patient condition and your skill.
Step 2: Technique (Simplified for Rookies)
- Ultrasound-guided IJ (most common in ED):
- Position patient supine, Trendelenburg if possible.
- Identify IJ with ultrasound (compressible, no pulsation, lateral to carotid).
- Sterilize skin, drape.
- Local anesthesia.
- Insert needle under real-time US guidance → aspirate venous blood.
- Guidewire through needle.
- Remove needle, dilate tract, insert catheter over wire.
- Flush, secure, suture, sterile dressing.
- Confirm placement (chest X-ray for IJ/subclavian; check waveform).
Step 3: Aftercare
- Confirm line works: flush all ports.
- Check for complications: bleeding, pneumothorax, malposition.
- Document number of attempts, site, confirmation method.
- Monitor patient — complications often show up minutes later.
Complications (and Rookie Mistakes)
- Arterial puncture: pulsatile, bright red blood → don’t dilate, remove and hold pressure.
- Pneumothorax: especially subclavian, always get CXR after.
- Air embolism: keep patient in Trendelenburg, cover hub immediately.
- Infection: strict sterile technique prevents.
- Line not in vein: always confirm before use.
Rookie mistake: treating a central line like a badge of honor instead of a clinical need. Always ask “Do I need this?”
Rookie Pearls
- Ultrasound is your friend — use it.
- Two failed attempts? Call for help.
- In a crashing patient: femoral is fastest.
- Always flush and secure — nothing worse than losing a fresh line.
- Document everything — site, size, confirmation.
Take-Home Message
Central venous access is lifesaving when used appropriately. For rookies:
- Know the indications — don’t place just to “practice.”
- Choose site wisely (IJ for most, femoral for crash, subclavian for longer-term).
- Use ultrasound guidance and strict sterile technique.
- Always check for and manage complications.
Remember: A central line is not just a procedure — it’s a responsibility.





Leave a Reply